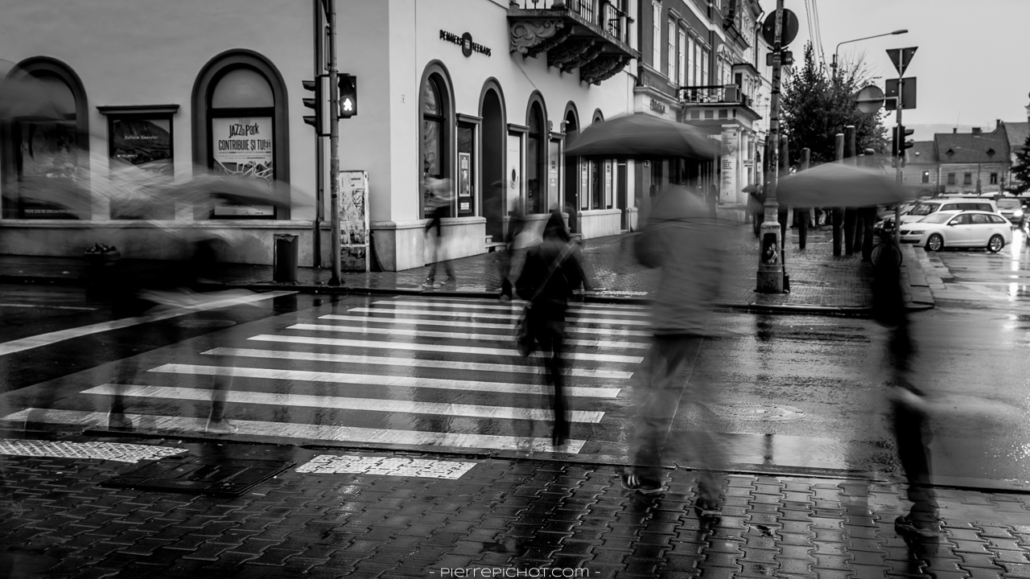
So, ready for your trip in Japan? You can’t wait to live Tokyo’s eccentricity, feel the zen of Kyoto’s temple, enjoy the incredible Kanazawa gardens, understand Hiroshima’s tragic destiny? And, as the photographer as you are, take some great shots? Here is my feedback on my trip to Japan… photography wise.
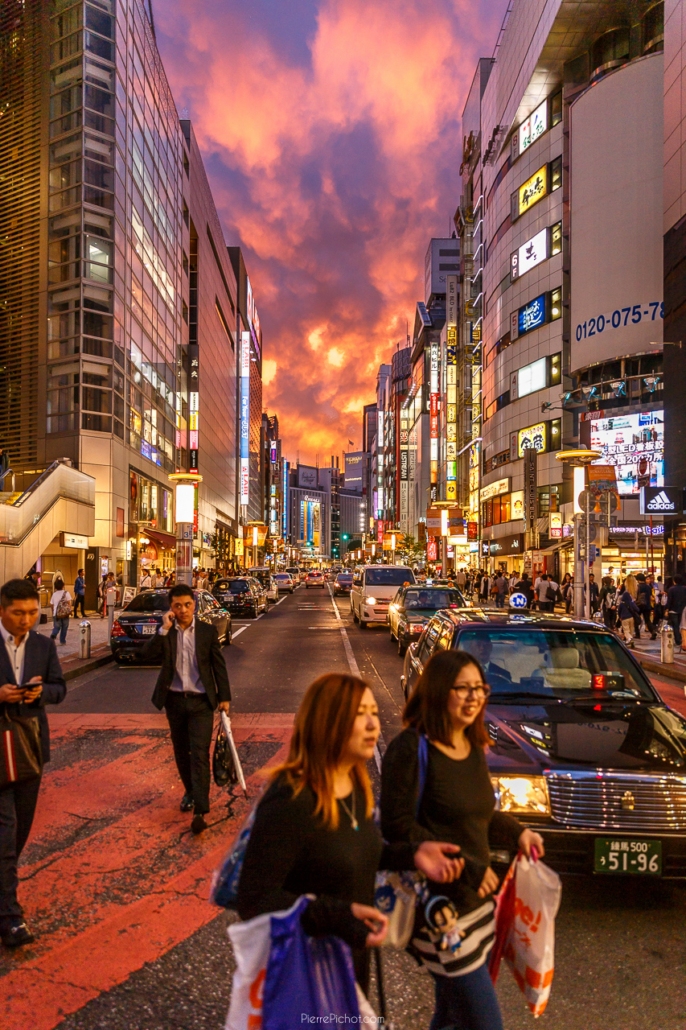
Shibuya crossing during a crazy sunset.
What gear do I need?
Of course it depends on your objectives, but let’s say your trip will focus on the 2 main destinations, Tokyo and Kyoto. In this case, go wide! In Tokyo, the incredible street lights are such a pleasure to capture, filling the whole frame. But the buildings are quite high and the streets not that large, so if you want to capture everything, you’ll have to go wide. In Kyoto, shooting temple (when possible… I’ll come back to that later on) is also a challenge, and a wide angle lens is a must. I would say that a 16-35 lens will be your best friend in a lot of occasions. Try to have a lens with little distortion in order to avoid “round buildings”, and too much work in post processing. Next to the wide angle lens, a short telephoto such as a 85mm with a large aperture is a good choice for portraiture.
A lot of temple also have some crazy beautiful gardens, once again a wider lens should help. If you’re a macro fan, that should be your field.
During my trip I took another approach with my 24-70 zoom and a 14mm prime. It was a nice combo but I regretted quite often not being able to go in the 20mm zone: 14mm was too wide (and too distorted unfortunately) while 24mm was a bit too long, forcing me to make 2 frames panoramas. However it gave me enough versatility for shooting portraits too.
In any case, go light! Some places are very crowdy and having a full backpack all day will be a pain. Trust me on this one 🙂 Set up a 2 lens combo with your camera and stick with it. Owners of mirrorless cameras will enjoy their choice, DLSR users like me will start to think about getting one!
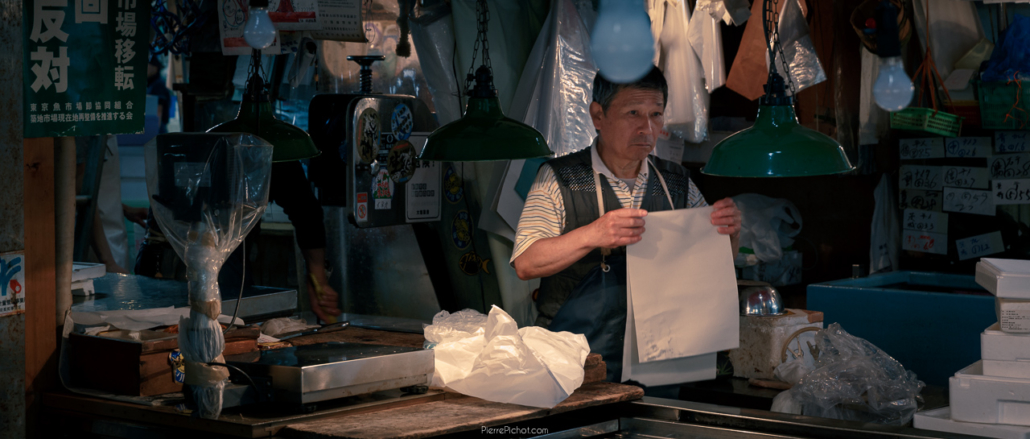
Tsukiji Market
Street photography
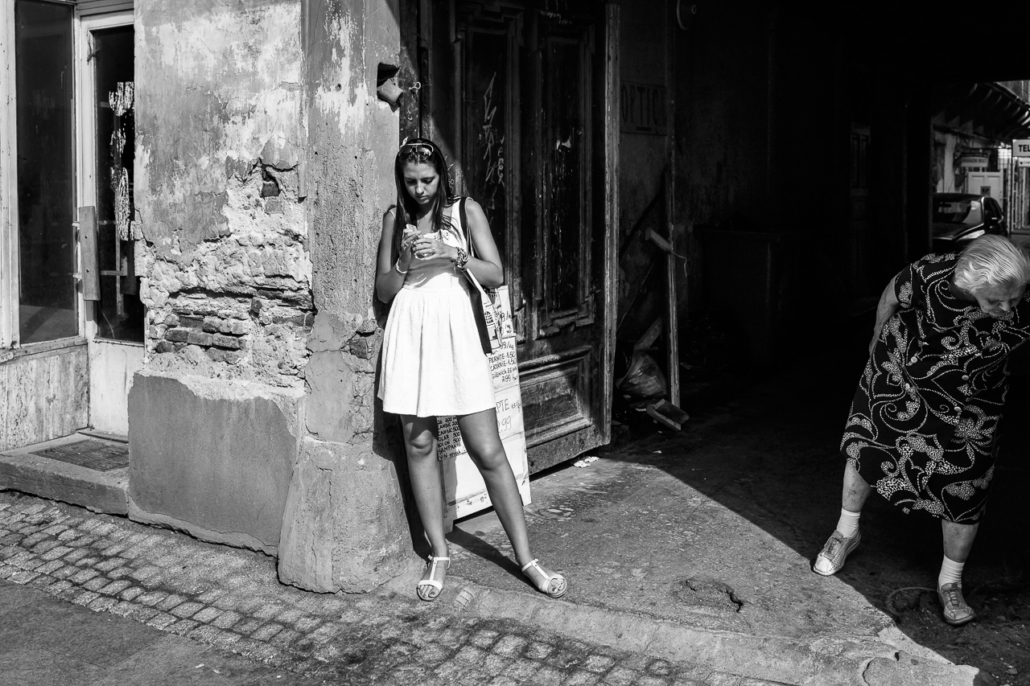
Shooting in the streets is easy in Tokyo, as the streets are quite crowdy, you won’t get noticed easily. I’ve had all kinds of experiences with the people’s reaction on being shot: in Harajuku quite a lot of cosplayers refused to get shot at all, while during Hiroshima’s yukata festival the people was much more open in having their picture taken. It was a bit paradoxal for me as cosplayers dress like they do for being seen… so in this case, discretion is required if you want to shoot them.
However in the Tsukiji market in Tokyo, the fishermen’s reaction at having their portrait done was quite interesting, they really liked it.
In Kyoto you may cross geishas in Gion or Ponto-cho, but they don’t really like photographers.
So in the end, I would recommend to keep a discreet approach while shooting people in the streets, globally I’ve had much better reactions in other countries.
Temples… or not
You’ve arrived in Kyoto and already selected a few of the 1600 temples in the city? Good! Be prepare to shoot them… from the outside. A very large majority of temple forbid to have photos taken within the temple’s wall, even when there is no religious rituals in progress. A bit frustrating as some of them are really beautiful, but try to respect this requirement.
However a lot of temples have some magnificent gardens and parks, with ponds, fishes (the famous Koi carps), moss, bamboos… They are a distinct part of the temples are really are a must see. I think we spent more time in the temples’ gardens than in the temples themselves 🙂
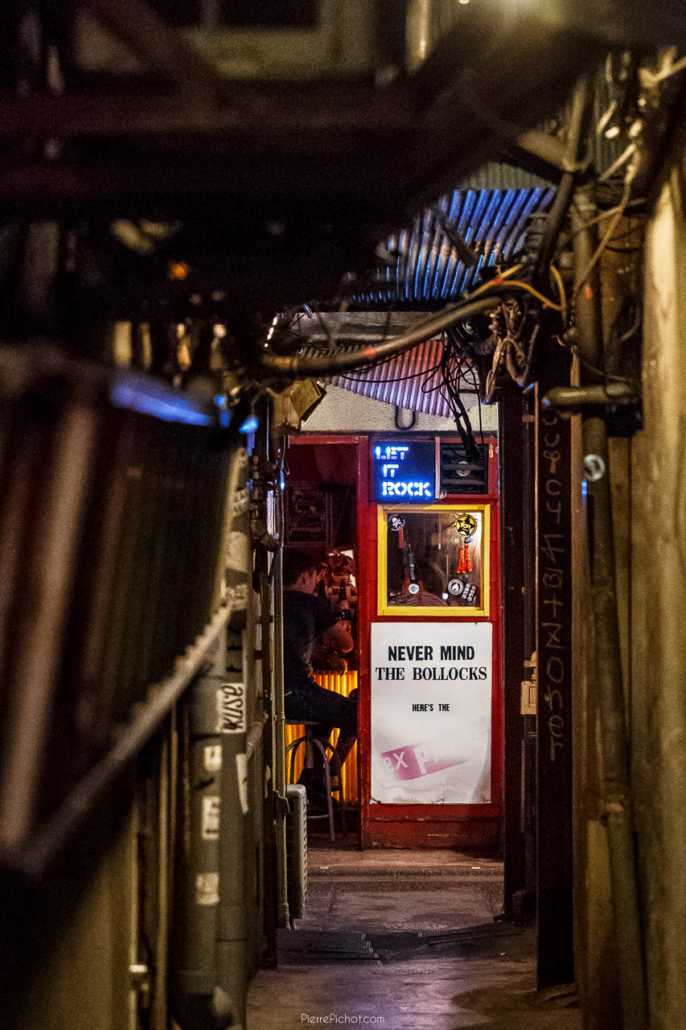
Golden Gai, Shinjuku: 200+ very small bars, welcoming only 5 to 10 customers.
Your tripod is your best friend
Tokyo’s street life and lights are wonderful at night. Having a tripod for long exposures is pretty awesome! Some temples such as the Menji-jingu are illuminated by night. You can also give a shot at some cityscapes.
As I recommended before, avoid big, heavy gear. I’ve taken with me a Gitzo Traveller carbon tripod that is light, small and sturdy enough for my gear (in this case, Canon 6D and Canon 24-70II or Samyang 14mm). I wouldn’t have taken with me a standard, long tripod in aluminium, which would have been a pain to carry for only a few shots. Only a few shots because…
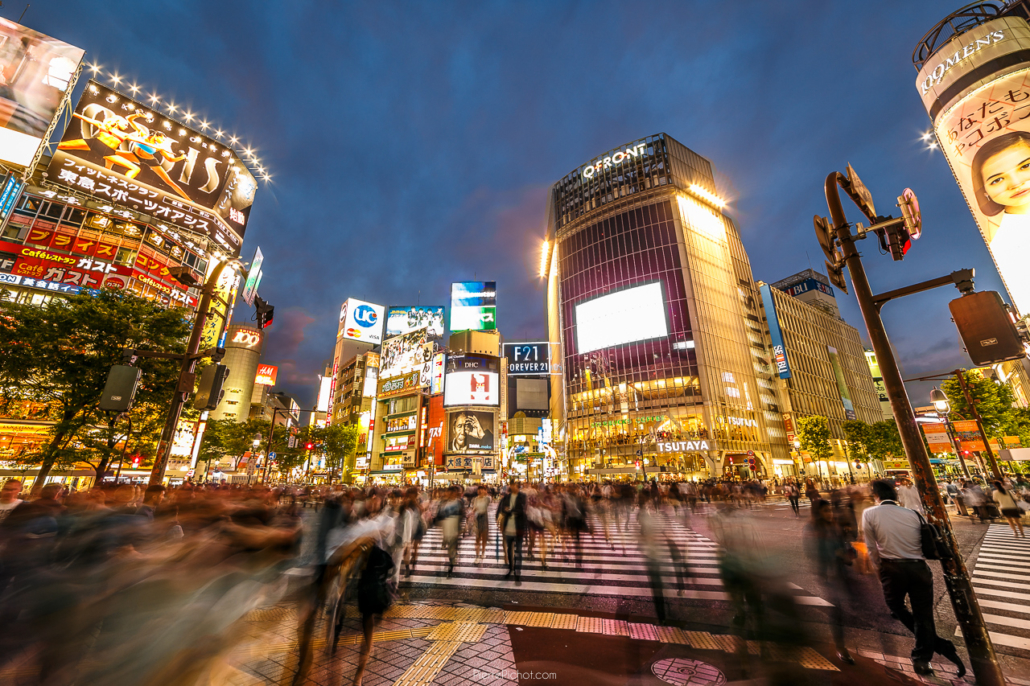
Shibuya crossing, 30 seconds long exposure.
Your tripod is your worst enemy
In a lot of places tripods are forbidden. Inclusive at a very large majority on sky decks and panoramic views in Tokyo! Which are anyhow closed by glass 🙁 Same thing in the most visited temples of Kyoto such as the Kiyomizu-dera, where long exposure shots would have been awesome.
I really recommend to check on internet before you go to some place if tripods are allowed, you’ll avoid carrying your tripod for nothing all day long, in crowdy public transport…
Plan your visits
Before going somewhere, document yourself about the best spots to shoot it. A bunch of great website exist (
Shoot Tokyo is the first one popping in my mind, with
a list of Tokyo’s best spots), next to the usual ones (Flickr, 500px) that will help you find the place to take your photos. Just going there and see onsite will usually result in frustration. Check also if tripods, or photography in general, is allowed.
Take also in account that you will usually not be alone, and not with photographers. It’s tempting to wait for that cloud to come in the frame or that ray of light to hit that window, but your travel companions will not have the same patience. Plan your shots, take them, and continue your tour without losing too much time, it will avoid unpleasant situations (ask my wife!).
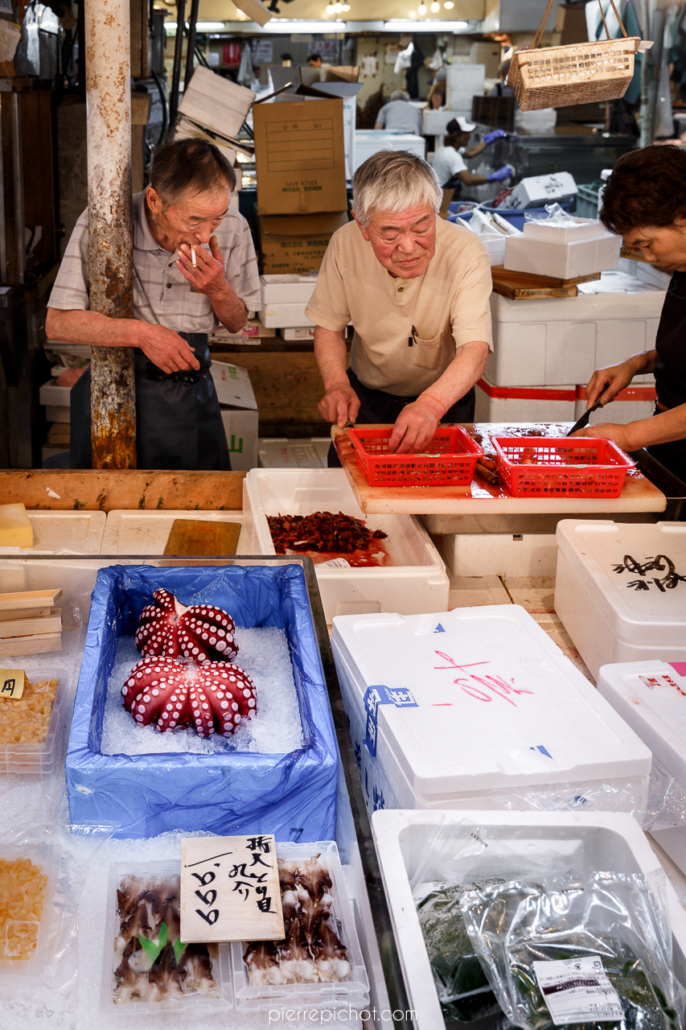
Tsukiji Market
Put your camera down
Maybe the best advice I can give: let your camera down a bit and enjoy your trip! Japan is a fantastic country, so rich that you could spend the whole day the eye in the viewfinder without seeing anything without a lens in the way. I’ve taken around 300 shots a day, I could have easily done 1000+, but I wanted to have fun and enjoy the trip.

