What are Lightroom’s Smart Reviews
Adobe’s Lightroom is a fantastic piece of software. It may not be the best photo editor (Capture One for example is still the reference IMHO), it may not be the best to organise your photos (Photo Mechanic is pretty awesome too), but it does all of that very well, and furthermore it offers so many features that makes the photographer’s life easier.
The last example I have is Smart Previews. I must say I’ve discarded them as soon as they appeared. Imports are already long enough, between copying the photos to the hard drive, generating the previews… Who cares about another kind of preview? They are actually smaller DNG files created after the original RAW files and that keeps all their flexibility, except with a lower resolution and therefore a lesser MB footprint. Their usage became clearer to me when I started using Lightroom Mobile: it synchronizes Smart Preview over Adobe’s Creative Cloud in order for the Mobile App to work with. It’s become quite useful, but my older and slow iPad and my small iPhone are not the best tools for retouching. And Lightroom Mobile doesn’t offer (yet) all of Lightroom’s features such as the local adjustments. So, that was it. Until 2 weeks ago.
Let’s be Smart
Because I’m a lazy kind of guy, I still have a bunch of travel photos from last year’s trip to Japan that I still have to touch. Being on a business trip for a few days, including a LOT of time in the place, let’s use this time for clearing a few hundreds of remaining photos. But I need unrestricted access to all of Lightroom’s features of course, so no Lightroom Mobile work. And I don’t have enough space on my laptop’s hard drive, so no way I’ll copy GBs of photos on it, or use a slow like hell external drive. That’s when I remembered those little Smart Previews, and how they can help me having access to all my Japan photos without too much precious space used, and fast access too. Let’s give it a try!
So for sharing photos between 2 computers you need:
- 2 computers:
- The “source computer”, that holds your main Catalogue
- The “target computer”, that you’ll use to work remotely on your photos
- Lightroom installed on each computer, preferably the very same version, at least the same major version (e.g. Lightroom 6.x)
- An external drive, or a shared drive on your network
- A bit of time 🙂
Going remote
Here is the thing:
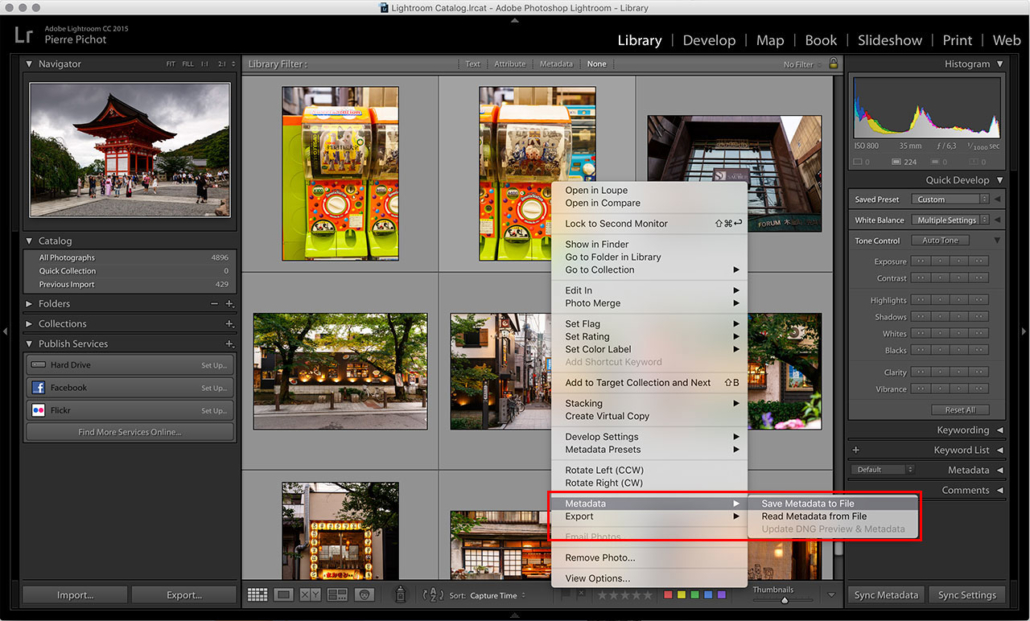
1. Save the photos’ metadata to a sidecar file on the source computer.You may have already a standard preset when importing photos into Lightroom, as I do. You also may have some already retouched photos that I could use as a reference. So you want to keep all the changes that have been done until now. The best way is to save all the development metadata to XMP sidecar files. Those are XML files that contain all the changes you do on your photos in Lightroom. The only constraint is that it doesn’t work with virtual copies, so be careful. Ideally the photos and the sidecar files should be on an external drive, or at least a shared drive that is reachable by the target computer. So select all the photos you want to work on in the Library module, then right-click on them and select Metadata > Save Metadata to File.
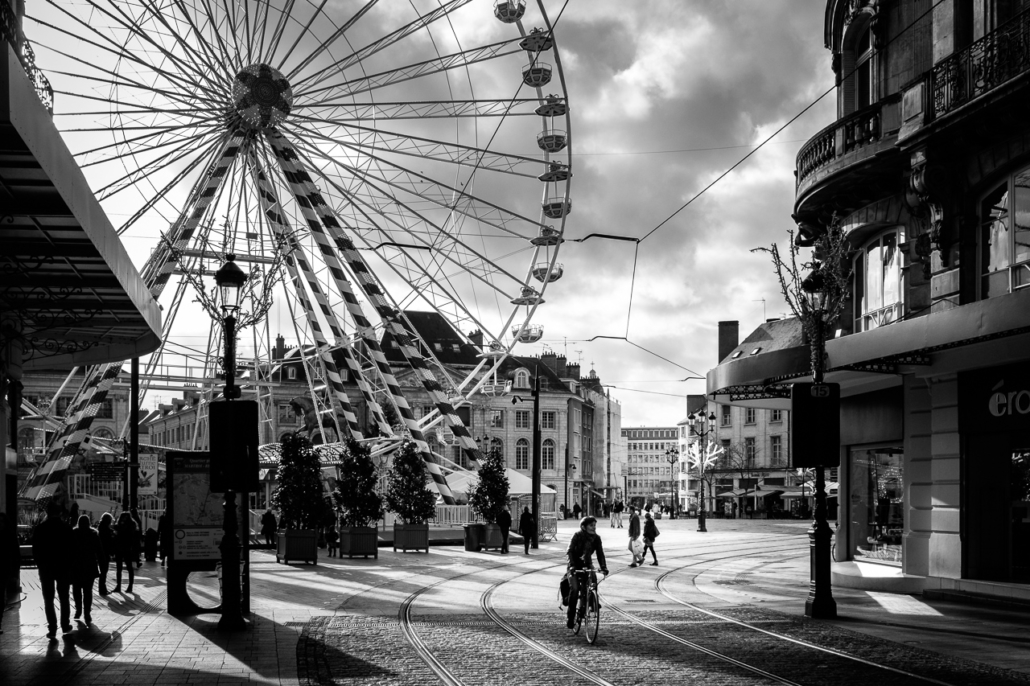
Big wheel, small wheels. Orléans, France. License it.
Back in my hometown: Orléans, France. It’s a peaceful little city not that far from Paris. The kind you of city where nothing really happens, but it’s still a pleasant place to live in. It gets a bit more active during the winter where the Christmas market opens at Martroi Square, next to Jeanne d’Arc statue. Small shops, fair and big ferris wheel also make their apparition!
Shot with a Fujifilm X100T and processed with Adobe Lightroom using Fuji’s Monochrome profile.
EXIFs:
- Camera: Fujifilm X100T
- Aperture: ƒ/11.0
- Focale: 23mm
- Shutter speed: 1/500s
- ISO: 640
- Copyright: Pierre Pichot 2016, all rights reserved
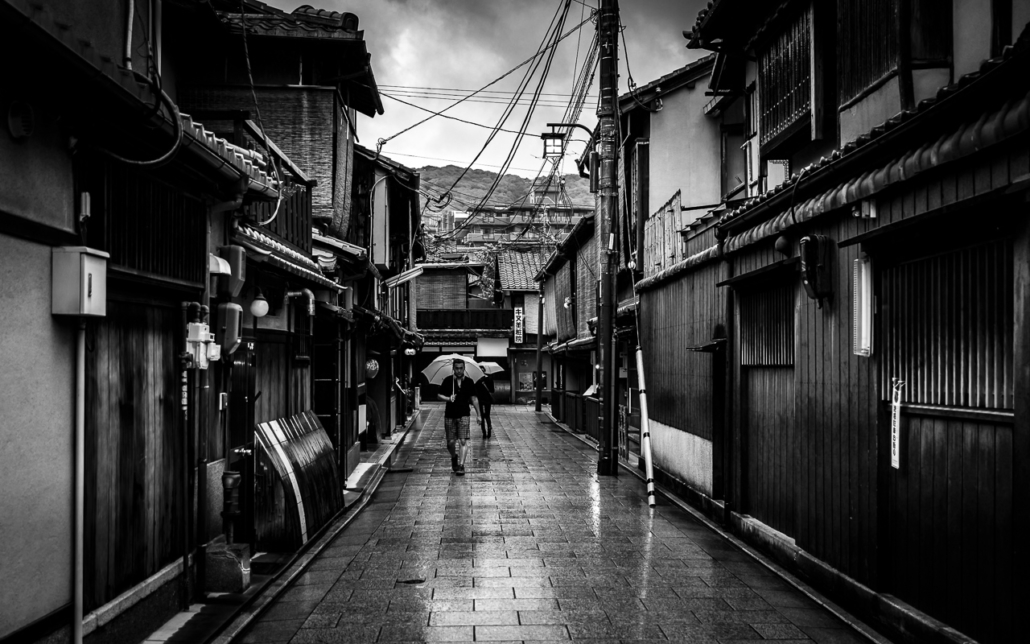
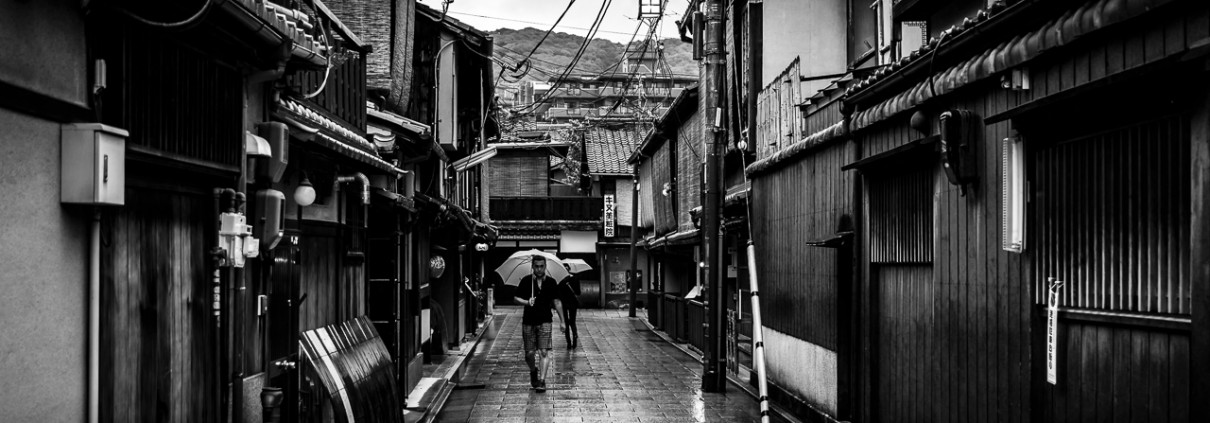
Gion, the Geisha neighborhood, under the rain. Kyoto, Japan.
Another stop during our trip in Japan, Kyoto and all its temples… More than 1600! But Kyoto is also Gion, the Geisha neighbourhood. Those who have seen Memoirs of a Geisha may remember it. It’s a typical, old neighbourhood with woody homes, small restaurants, and a particular atmosphere. It seems empty, but it feels like there is a lot happening behind those closed doors…
Shot with a Canon 6D then process in black and white with Adobe Lightroom.
Do you like this photo? Click here and get an original, signed print in limited edition!
EXIFs:
- Camera: Canon 6D
- Lens: Canon EF24-70mm f/2.8L II USM
- Aperture: ƒ/3.2
- Focale: 38mm
- Shutter speed: 1/200s
- ISO: 400
- Copyright: Pierre Pichot 2015, all rights reserved


 Pierre Pichot 2015